Import an Xcode project into WOLips
This tutorial will help you import an existing Xcode WebObjects project for use in WOLips. Eclipse has the concept of a workspace--a folder where a collection of your projects are stored. You select the current workspace when Eclipse launches (unless you have selected a default workspace). Eclipse does not require that your project itself be in the workspace folder, but this is the default behavior. You can choose to move your existing Xcode project into your workspace folder, or you may add Eclipse/WOLips features to your existing Xcode project. This tutorial will initially focus on moving a copy of your Xcode project into the Eclipse workspace for use in WOLips.
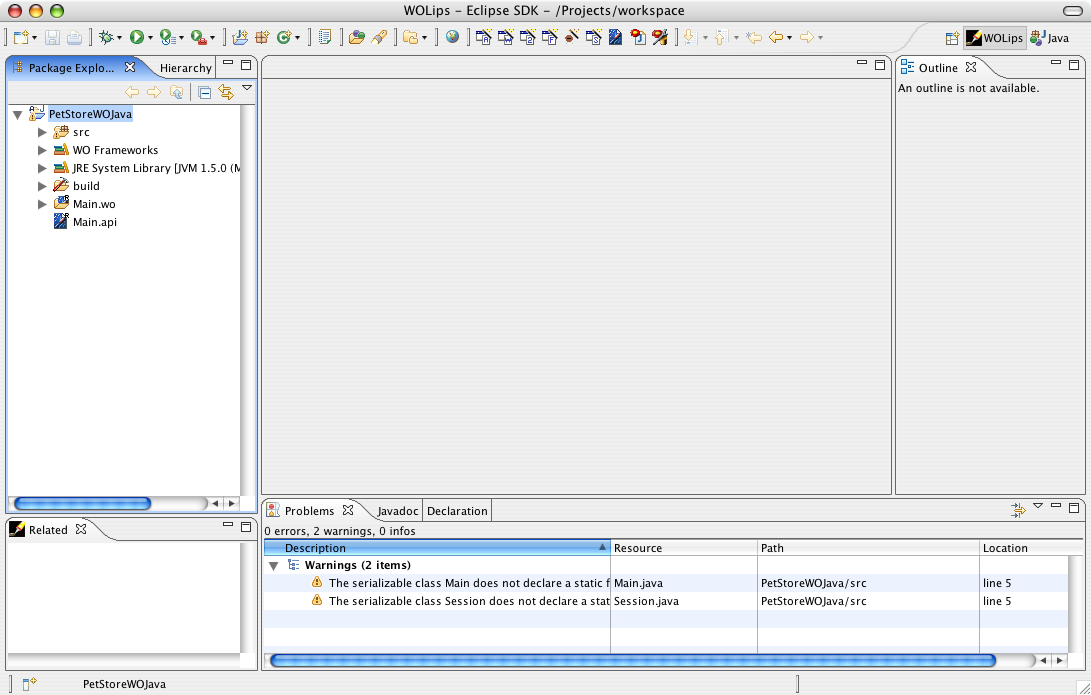
1. Create a new WO Application. For this tutorial we will import the example PetStoreWOJava project from /Developer/Examples/JavaWebObjects/PetStoreWOJava so we will call this new project PetStoreWOJava. Notice the warnings that you can turn off in the center pane.
2. Copy the Java files from the Xcode project into the src folder of the new WOLips project. You can do this in a variety of ways, including from the Finder, but the easiest is probably to filter your Xcode project for .java files (or use the Implementation files smart group) and drag and drop from Xcode directly to Eclipse. However, if your java files are arranged (as they should be) in varying packages (e.g., com.yourdomain.*) then, in order to preserve such packaging, drag the root package folder (e.g., 'com') either from the Finder or Xcode.
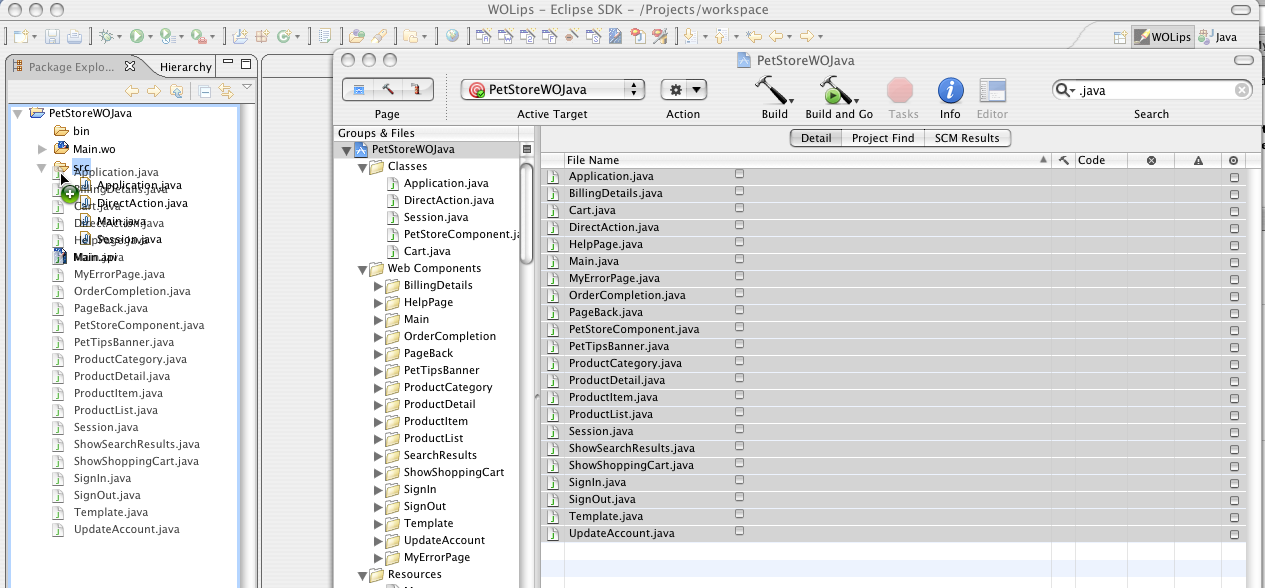
It will ask if you would like to overwrite the existing files, choose Yes To All to replace the default WOLips files.
If you use the Finder you will need to refresh the Eclipse project using File->Refresh before it will notice the changes to the project.
3. Now copy the WOComponents and other resources into the Eclipse project. You may want to create separate folders in your eclipse project for different types of resources such as images and other resource files, but for the purpose of this tutorial we'll just drop them all into the project root folder which is the default. You can use the Finder if you like, or drag and drop from Xcode into the Eclipse project.
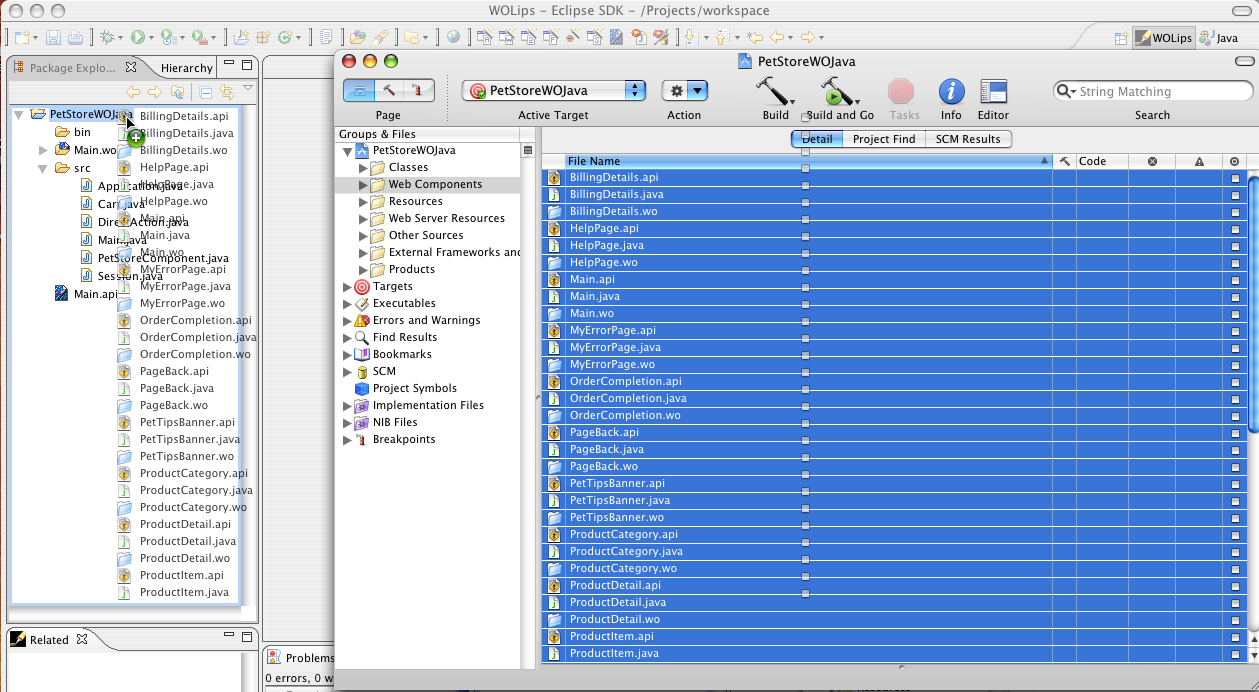
If you drag the components like this, the Java files may come along. You'll need to move them to the src folder if they're not already there, or just delete them from the project if they already are in the src folder.
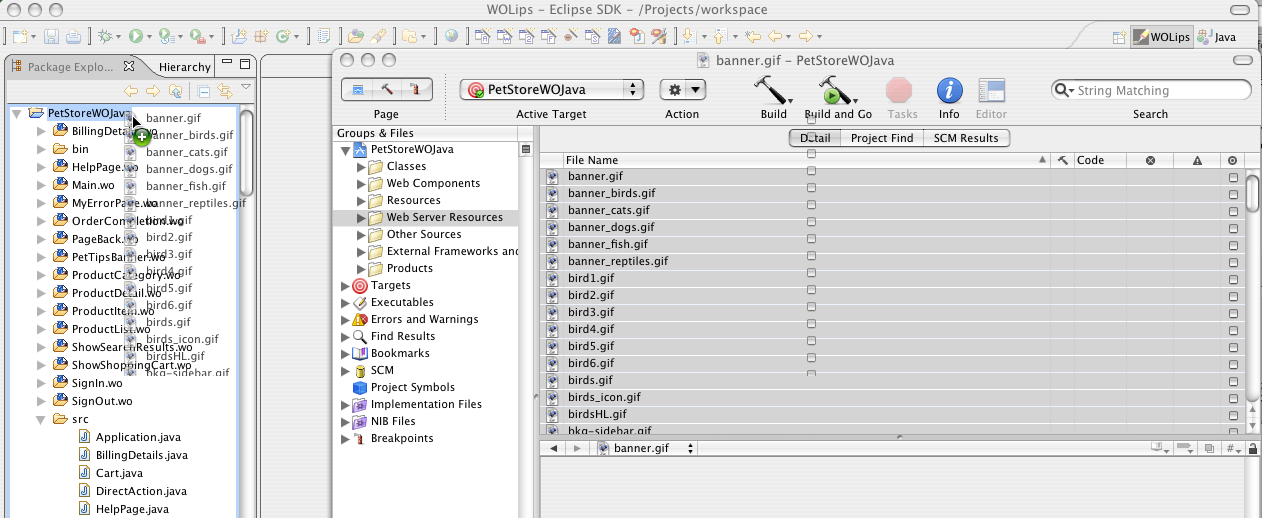
Once all of your resources are in the Eclipse project, it may look like this:
If you have your resources organized in groups in your Xcode project, you will need to recreate this structure in the Eclipse project using folders. At this time, WOLips does not have support for arbitrary groupings of files independent of the file system, but you can setup your file system to match. Here's an example that mimics the Xcode default structure in Eclipse.

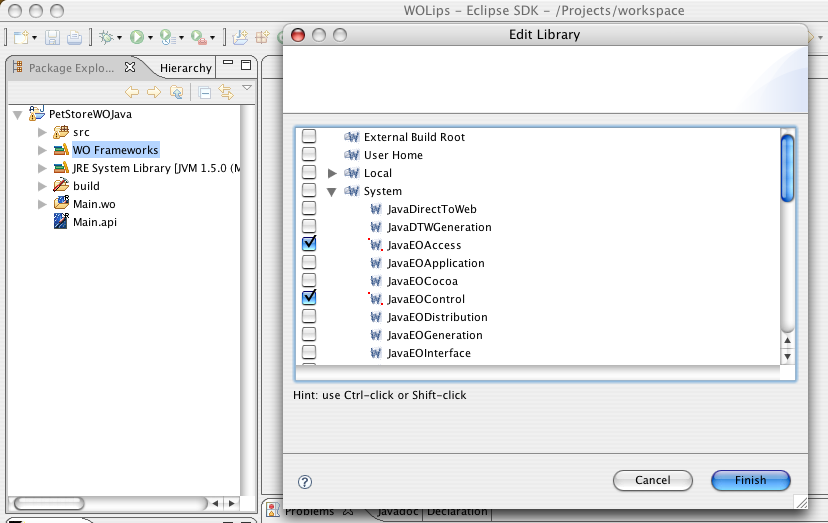
4. Add your frameworks to the project by right-clicking WO Frameworks and choosing Configure... Expand the System and Local entries, and check the boxes next to the frameworks you need for this project. Also include the PetStoreWOModel under Local - you might have to install it in /Library/Frameworks if it is not there already.
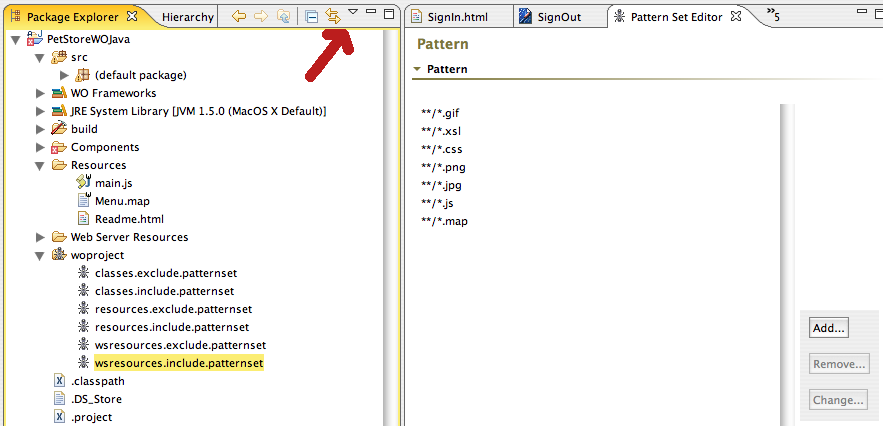
5. Menu.map must be included in the build Web Server Resources: Select the "Filters..." item from the Package Explorer menu (little drop down triangle as shown) to show the "Java Element Filters" dialog. Uncheck "woproject (WOLips)". This will show the "woproject" group in the Explorer tree. Open the wsresources.include.patternset file and add a this pattern: **/*.map. Save change.
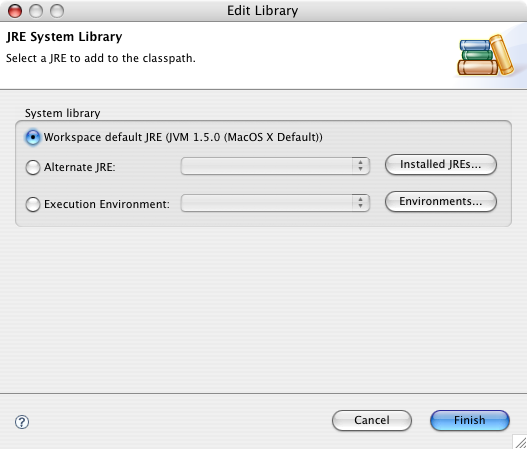
6. Configure your JRE. Right click the JRE System Library and choose Configure... You can select which JRE you would like to build against.
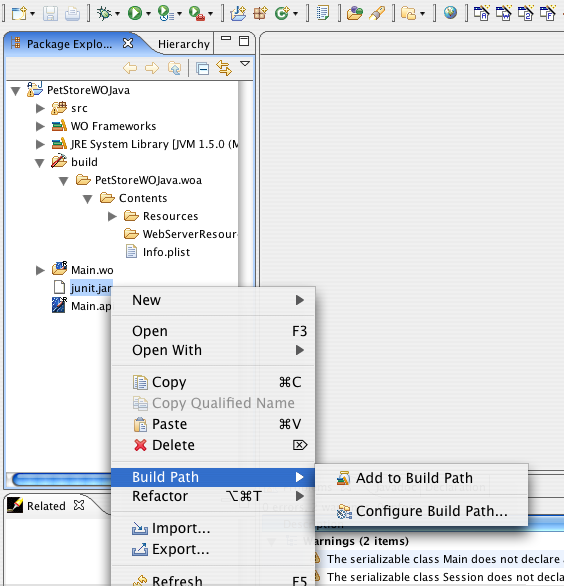
7. Fix any build errors. At this point you need to fix any errors that may show up with a red x in your Problems tab or in the Package Explorer. You may need to move Java classes into appropriate packages or add any additional jars. Jars can be added to the build path by right-clicking on them and choosing Build Path->Add To Build Path. (If you have not included the PetStoreWOModel.framework as in point 4 above, entities like Order and Account will show as errors.) You might also like to change some fields from private and protected to public if there are lots of 'no key' errors in your .wod files, although the project will run without correcting this (ms is going to fix this). (In a real project, you would write a getter right? This is needed to preserve encapsulation, ie., hide implementation, and enforce the principle of uniform access in languages, like Java, that distinguish fields from functions with '()' which exposes implementation.)
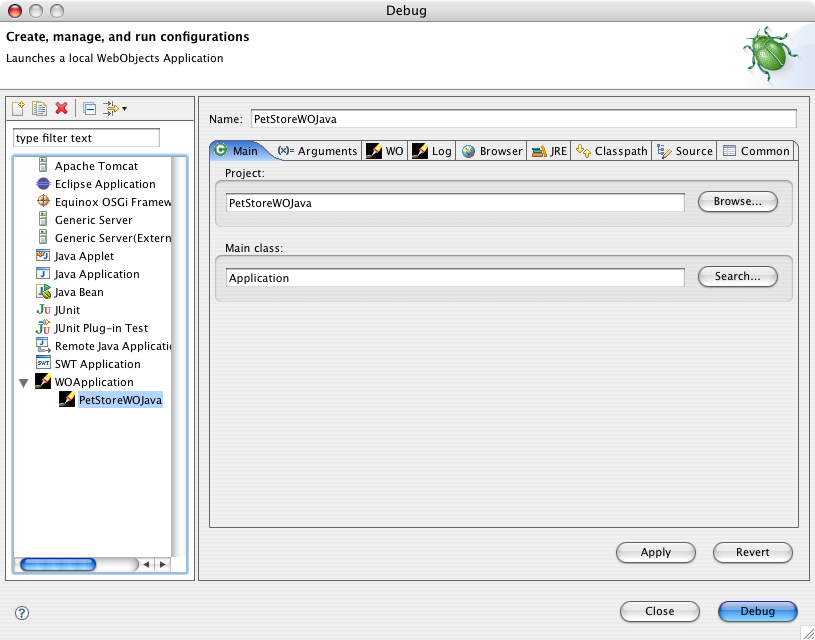
8. Create a Launch configuration. Choose Run->Debug... and select the WOApplication entry and create a new entry with right-click or by clicking the New button at the top of the dialog. Fill in the Name field, then click the Browse button and select your new project. Then click the Search button by the Main class: text field, and select your main application class. Click Debug and your WO Application should launch.
