Java Client and Direct To Java Client Example Project using WebStart
Last modified by David Avendasora on 2008/07/01 16:52
This tutorial will help you create a single Eclipse/WOLips project that contains both the client- and server-side classes of a WebObjects Java Client project, build both applications and then launch them both.
You can also create a Java Client application using two separate Eclipse projects. One for the server (a WOLips project), and one for the client (most likely a plain Java project). This will make the separation between client and server much more obvious, but then you will have two Eclipse projects to maintain. The approach described in this tutorial is most appropriate for WebStart based client app distribution.
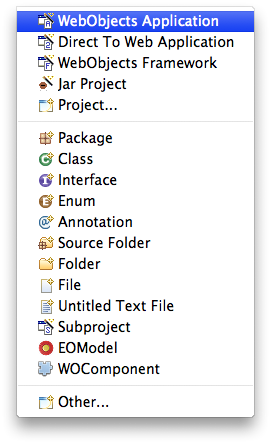
- Create a new WebObjects Application
- Name it "WebStartJNLPTest" in Eclipse with a package of "your.app"
- The [note] macro is a standalone macro and it cannot be used inline. Click on this message for details.
Modify the Main.html by adding: - <WEBOBJECT NAME=JavaClientLink>click here</WEBOBJECT>Modify the Main.wod file by adding:
- JavaClientLink: WOHyperlink {
href = javaClientLink;
}Modify the Main.java file by adding: - public String javaClientLink() {
return WOJavaClientComponent.webStartActionURL(context(), "JavaClient");
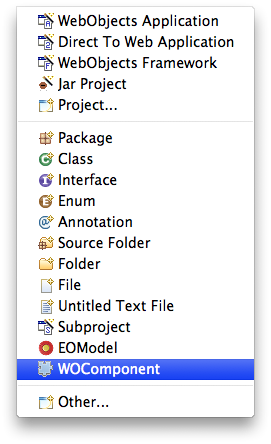
}Create a WOComponent named "JavaClient".
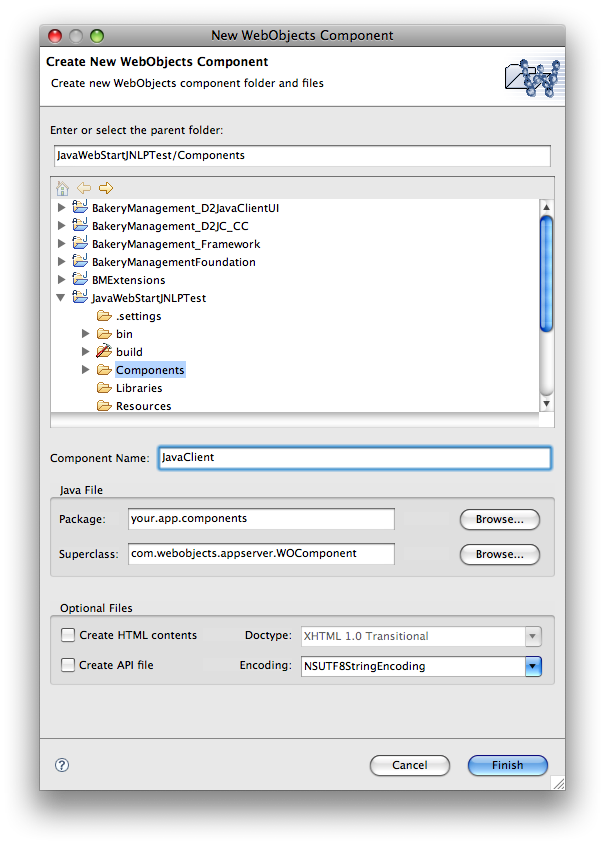
This WOComponent will be what passes the specifics about your client-side application to WebObjects. - Modify the JavaClient.html replacing the contents with:
- <WEBOBJECT NAME=JavaClientComponent></WEBOBJECT>Paste the following as the contents of the JavaClient.wod file. Feel free to change the applicationName, applicationDescription and vendor parameters to anything you wish.
- The [note] macro is a standalone macro and it cannot be used inline. Click on this message for details.
If you didn't add an EOModel file to the project when you created it, do it now. Drop any existing EOModel in the Resources directory, or create one from scratch.
If you don't specify a client class name for each entity, then WebObjects will automatically use EOGenericRecord as it's class. Once you want to start specifying client-side logic including default values and such, you will need to add the Client Class Name to the Entity in the EOModel, and then setup a new .eogen file in eclipse to generate the client-side classes. - Add the following frameworks to the project build path:
JavaDirectToWeb
JavaDTWGeneration
JavaEOApplication
JavaEOControl
JavaEODistribution
JavaEOGeneration
JavaEOInterface
JavaEOInterfaceSwing
JavaEOProject
JavaEORuleSystem
JavaFoundation
JavaJDBCAdaptor
JavaWebObjects
JavaWOExtensions - The [note] macro is a standalone macro and it cannot be used inline. Click on this message for details.
Create a ClasspathClient.txt file in the root of the project and paste the following as contents: # ApplicationClass == com.webobjects.eoapplication.client.EOClientApplicationSupport
# JDB == jdb
# JDBOptions ==
# JVM == java
# JVMOptions ==
APPROOT/WebServerResources/Java/WebStartJNLPTest.jar
/System/Library/Frameworks/JavaFoundation.framework/WebServerResources/Java/JavaFoundation.jar
WOROOT/Library/Frameworks/JavaEOControl.framework/WebServerResources/Java/JavaEOControl.jar
WOROOT/Library/Frameworks/JavaXML.framework/WebServerResources/Java/JavaXML.jar
WOROOT/Library/Frameworks/JavaDirectToWeb.framework/WebServerResources/Java/JavaDirectToWeb.jar
WOROOT/Library/Frameworks/JavaEOApplication.framework/WebServerResources/Java/JavaEOApplication.jar
WOROOT/Library/Frameworks/JavaEODistribution.framework/WebServerResources/Java/JavaEODistribution.jar
WOROOT/Library/Frameworks/JavaEOGeneration.framework/WebServerResources/Java/JavaEOGeneration.jar
WOROOT/Library/Frameworks/JavaEOInterface.framework/WebServerResources/Java/JavaEOInterface.jar
WOROOT/Library/Frameworks/JavaEOInterfaceSwing.framework/WebServerResources/Java/JavaEOInterfaceSwing.jar
WOROOT/Library/Frameworks/JavaEORuleSystem.framework/WebServerResources/Java/JavaEORuleSystem.jar
WOROOT/Library/Frameworks/JavaWOJSPServlet.framework/WebServerResources/Java/JavaWOJSPServlet_client.jar
HOMEROOT/Library/Java
LOCALROOT/Library/Java
WOROOT/Library/Java
/Network/Library/Java
WOROOT/Library/Frameworks/JavaVM.framework/Classes/classes.jar
WOROOT/Library/Frameworks/JavaVM.framework/Classes/ui.jar This file is only required by the application when it is being launched from within Eclipse. - Create a Java Client Incremental Builder by following the instructions. This file is needed to make up for the lack of Java Client application building by the WOLips Incremental Builder. It also copies the client launch scripts into the project so that the application will auto-launch when you run it from within Eclipse.
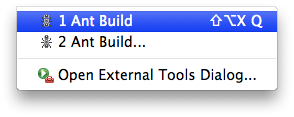
- If you did not setup the Java Client Incremental Builder, then right-click on the javaclientbuild.xml file and select "Run As -> Ant Build"
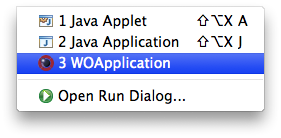
- Right-click on the project and select "Run As -> WebObjects Application"
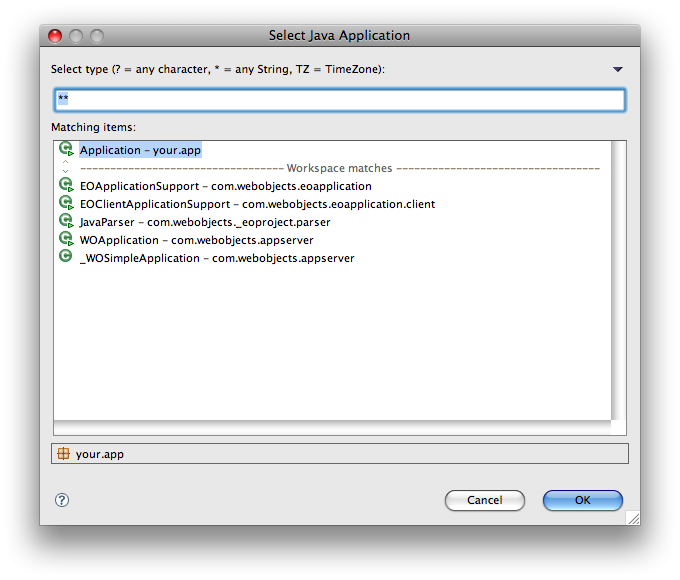
- Select your.app.Application as the Application class
- If you want to actually deploy this application, then you will also need to modify the build.xml file.
This is it. WebStart should automatically download your client application and launch it. If you are creating a D2JC application and did not put an EOModel file in the Resources directory of your project, then you'll see something like this:

If you don't want a D2JC application, then you are on your own for creating the user interface for it. Your client-side application can be a command-line or GUI application. If you want a Swing GUI, then I highly recommend Florijan Stamenkovic's JBND Framework